
Click on thumbnails to view larger versions of the pics!
|
|
|
|
|
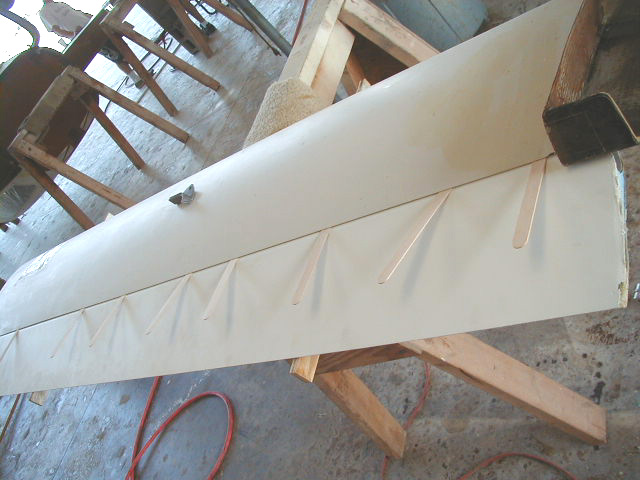
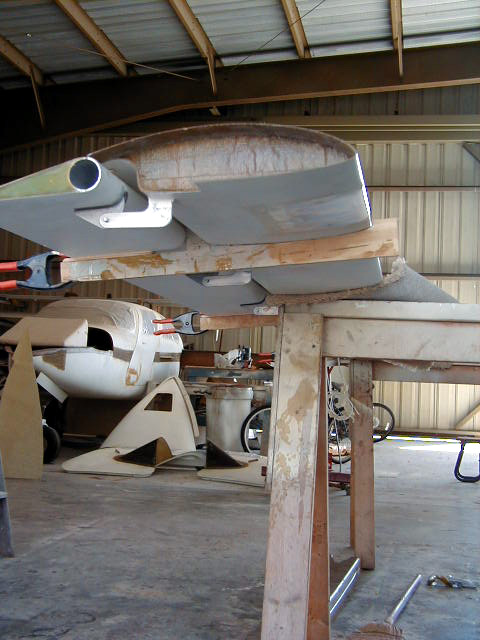
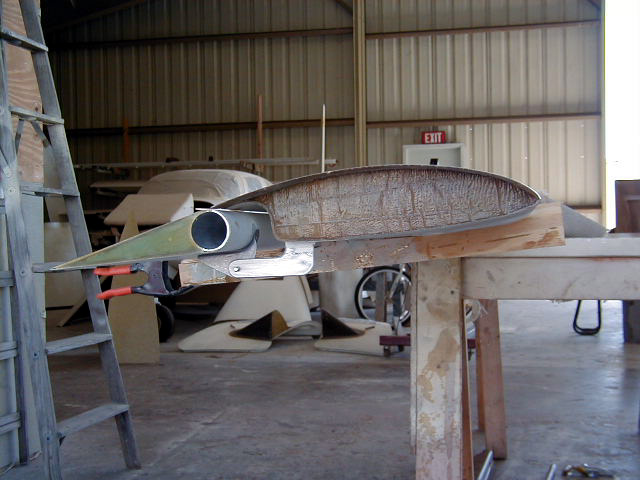
| Initial fitting of elevator to canard. High tech tongue depressors used to insure appropriate clearance between the elevator and canard. Here they are inserted to get a rough fit for elevator to canard. | The trailing edge of the canard was ever so slightly wavy. It was trimmed 1/32" and the trailing edge made 30 thousandths per plans. | Elevator set into position by jigs glued into position. The hinges were assembled and the elevator marked at the contact points. The primer at these points was sanded off to allow for a good bond to the metal fitting. | Elevator hinge shown set into positon. The contact point on the elevator is marked and primer removed at that position to insure proper bonding. |
|
|
|
|
|
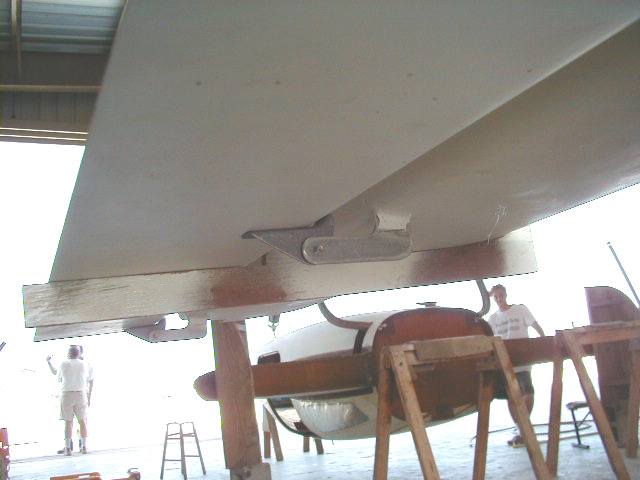
| After the elevator and canard are prepped, the elevator is again set into position using the jigs. The tongue depressors are sanded down to 50 thousandths to give the correct clearance. The shims are seen here in position. | Elevators being rigged with jigs holding parts in proper relation to one another. | Another view of the rigging process. Note grey structural adhesive holding the hinge to the elevator. There is also a screw through the metal fitting into the metal tube at the front edge of the elevator in addition to a pop rivet. These can be seen in the "Fairings" section in photos showing attachment of the canard tips. | Another view of the rigging process. |
|
|
|||
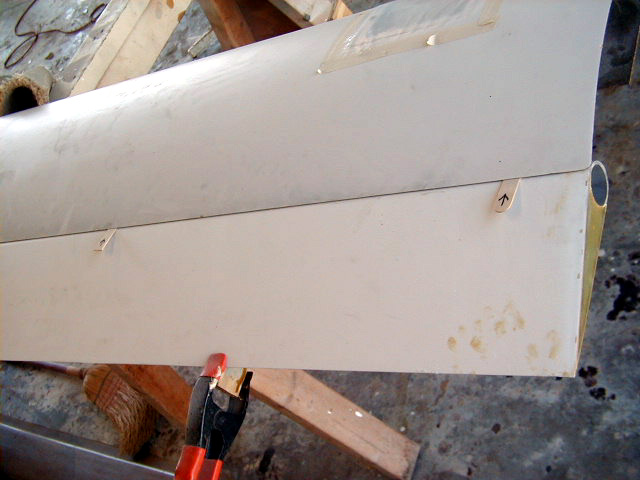
| Bonding hinges to the elevator at the proper points. |
 Comments, questions, and suggestions are welcome! email: rich@rguerra.com
This page visited times.