


The photos below depict some of the finish work on the wings. The final finishing and contouring of these wings was performed expertly by John Michael Fleming and Jason Fleming leaving a beautiful result. John continues to perform contouring work on Velocity wings. He can be reached at his company, Final Touch Composites at 321-727-0045. The final stages of the finish work is aided by use of a "guide coat". The guide coat is nothing more than an application of an easy-to-sand contrasting colour to reveal all the pits, rashes, and sanding scratches yet to be filled. This step is performed when you have the basic shape complete and in heavy
intermediate primer. At this point, you then you apply the guide coat, and sand with 100
grit, stopping before you hit the underlying micro fill. Hangar 18 usually uses the flat black fast-drying lacquer spray bombs from Ace Hardware, just misting it on, and waiting five minutes for it to dry. Here, since a pint can of lacquer-based black pigment was on hand, it was
mixed 1:3 with lacquer thinner and swabbed it on with a rag. It looks like terrible at first, but disappears quickly, leaving only what is in a low spot, thus clearly identifying areas needing fill. This saves a great deal of time as opposed to peering at the surface for pits and marking them individually. The low areas will be filled, sanded, and primer shot over them. This will make the surface ready for the white epoxy primer.
The details of reshaping the lower winglets both for aesthetic reasons and for installation of a video camera in the lower winglet leading edge are detailed below and in the "Wingcam" section.
Click on thumbnails to view larger versions of the pics!
|
|
|
|
|
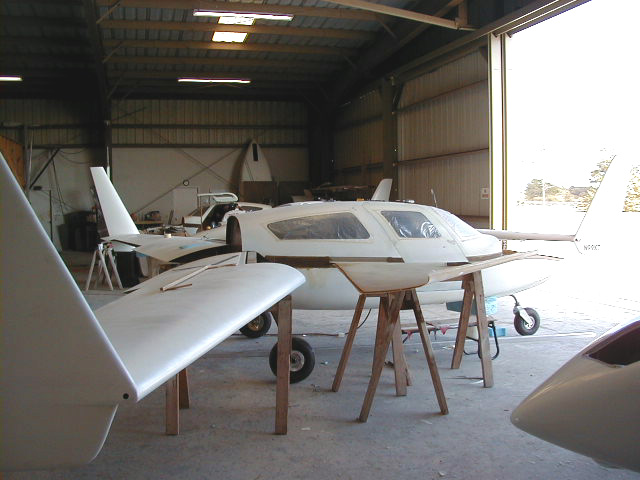
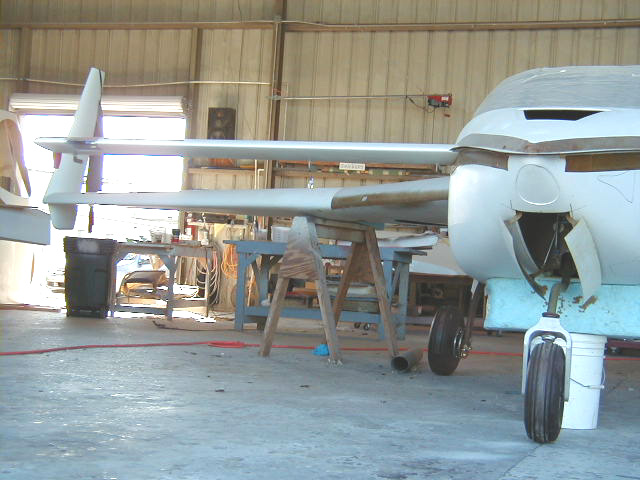
| WIngs attached and plane precisely leveled in preparation for strake construction. | Wings attached in preparation for building strakes. | Views of the plane during construction of strakes. | |
|
|
|
|
|
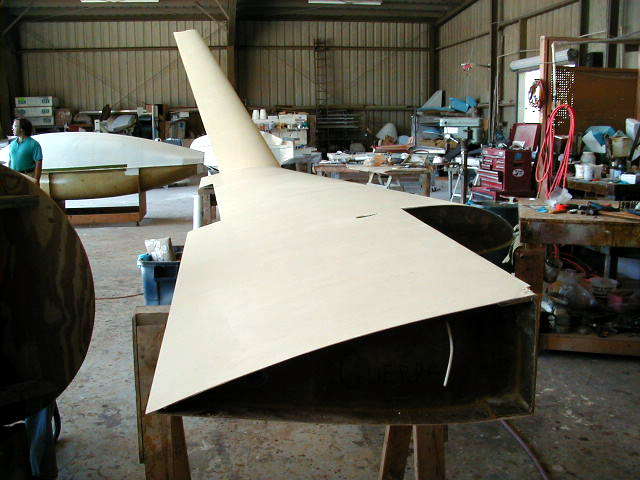
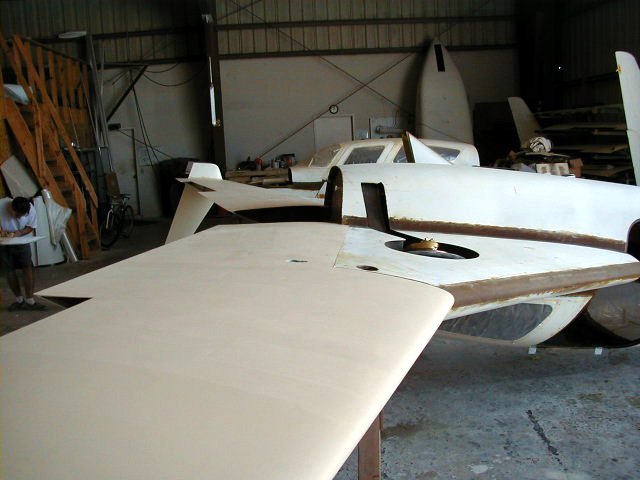
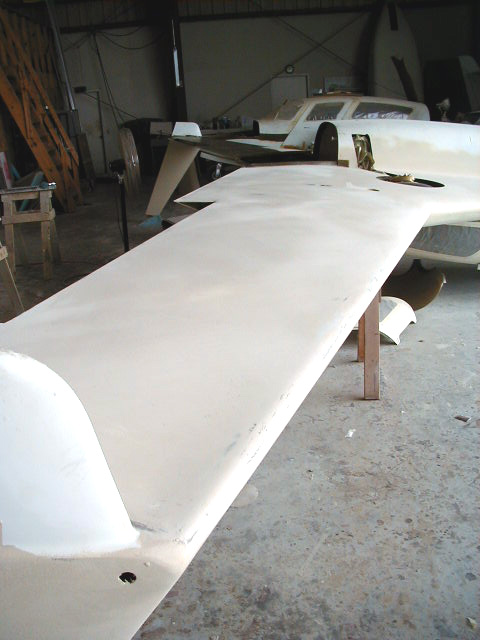
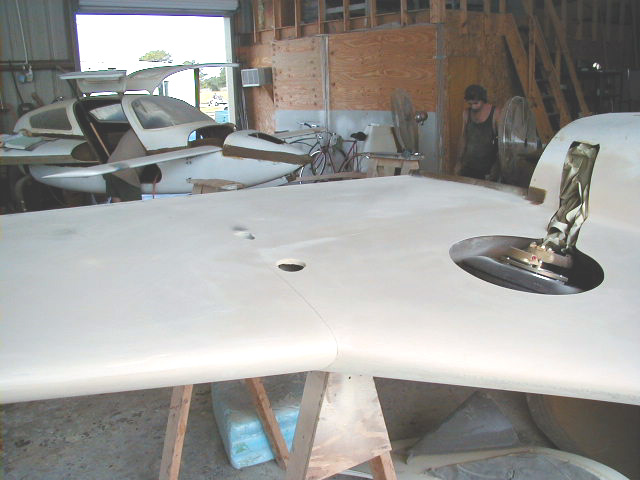
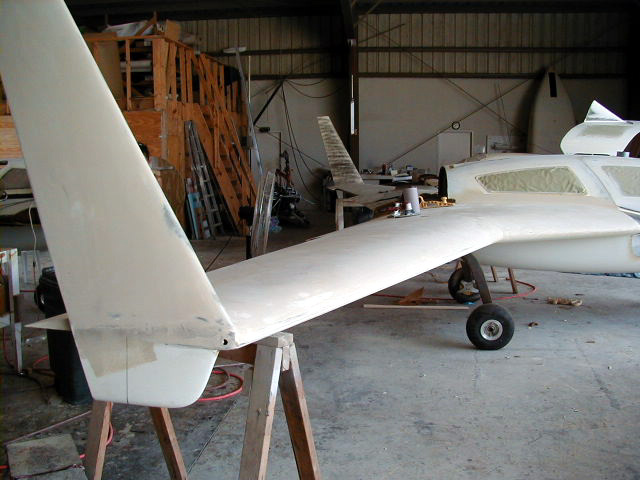
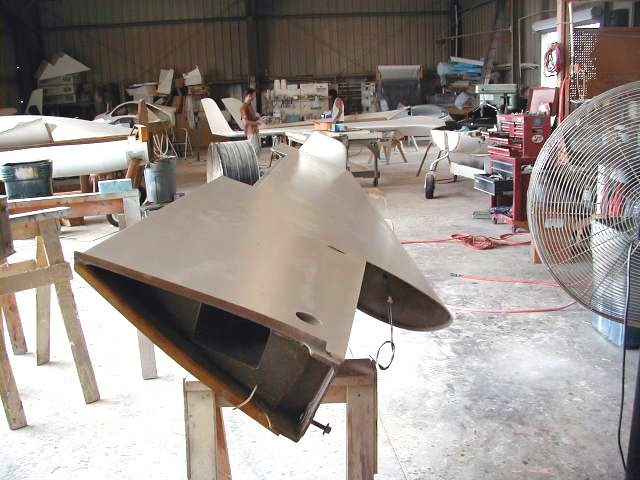
| Strake tops pre-bedded. Canard and nose portion of fuselage temporarily in place. | Top surface of nearly finished wings. They await final epoxy primer. In addition to straight leading and trailing edges, a critical component of these wings is the contour of the top and bottom surfaces. This type of construction (foam cores and spars) can leave flat spots over the spar in between the contoured foam cores which need to be filled to match. Additionally, there is a slight twist in the wings leading to a specific contour of the underside. The final finishing and contouring of these wings was performed expertly by John Michael Fleming and Jason Fleming leaving a beautiful result. John continues to perform contouring work on Velocity wings. He can be reached at his company, Final Touch Composites at 321-727-0045. | Bottom surface of nearly finished wings. Note lower winglet shape. These will be reshaped such that the leading edge of the lower winglet will extend to the leading edge of the wing, giving the winglets a more even sweep similar to the Wingco made wings built by Alan Shaw. This is primarily for aesthetic reasons as the aerodynamics shouldn't be significantly changed. The wingcam will be placed in the pilot side lower winglet as seen in the Wingcam section. | |
|
|
|
|
|
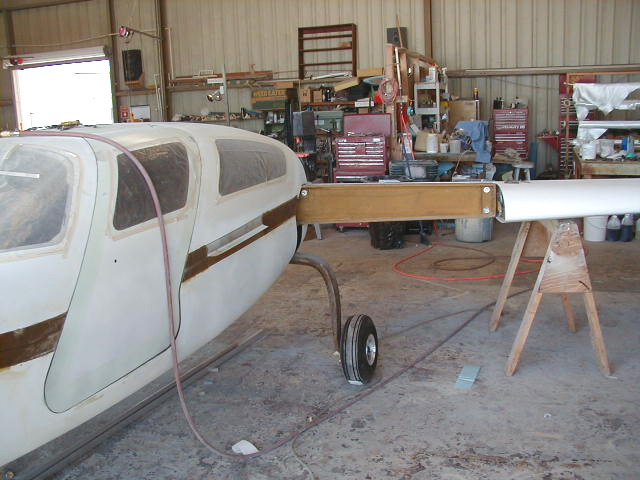
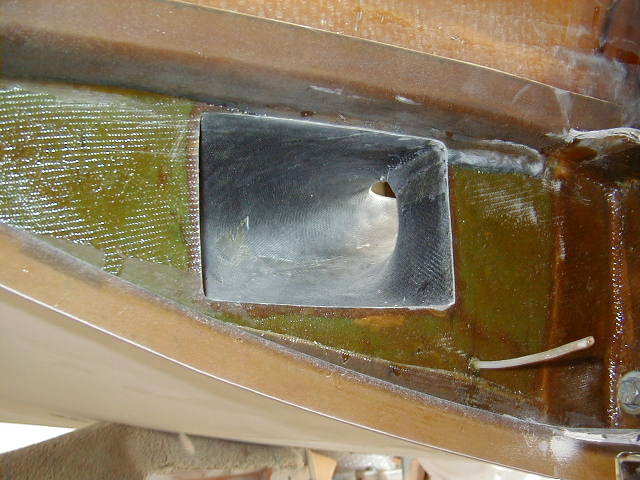
| Smooth contours of underside of now reattached wings seen here. | Induction air duct carved into wing. | Air filter in place in wing root. | Oil cooler recess carved into wing root. |
|
|
|
|
|
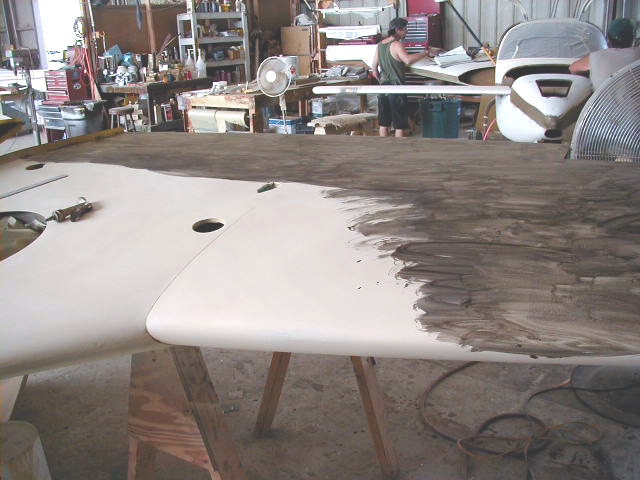
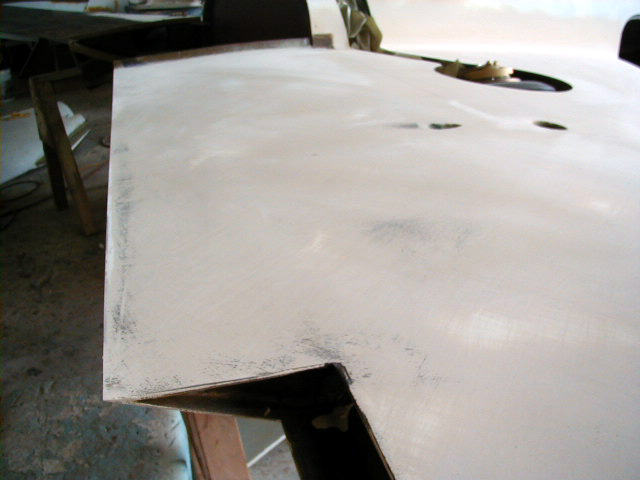
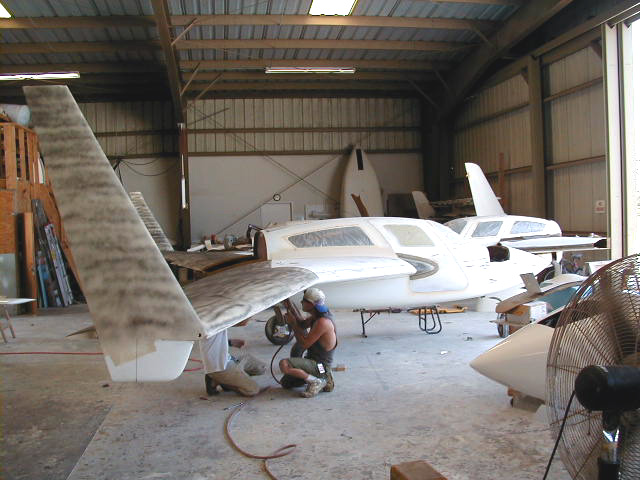
| Guide coat applied as described above. | Another view of guide coat application. | Jason sanding away the guide coat with 100 grit. | What the guide coat reveals. Any pinholes or low areas will be filled. |
|
|
|
|
|
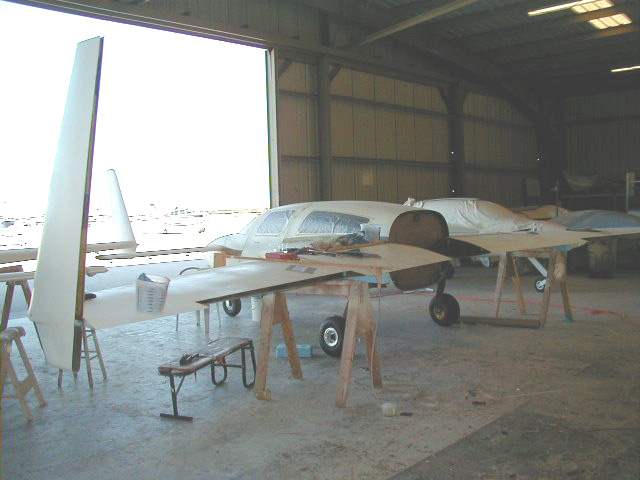
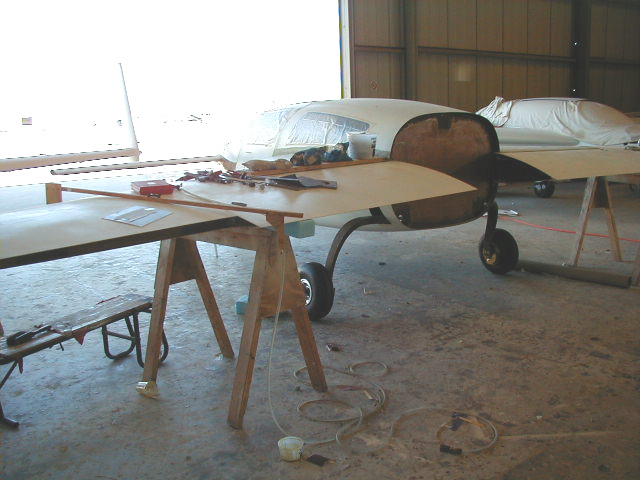
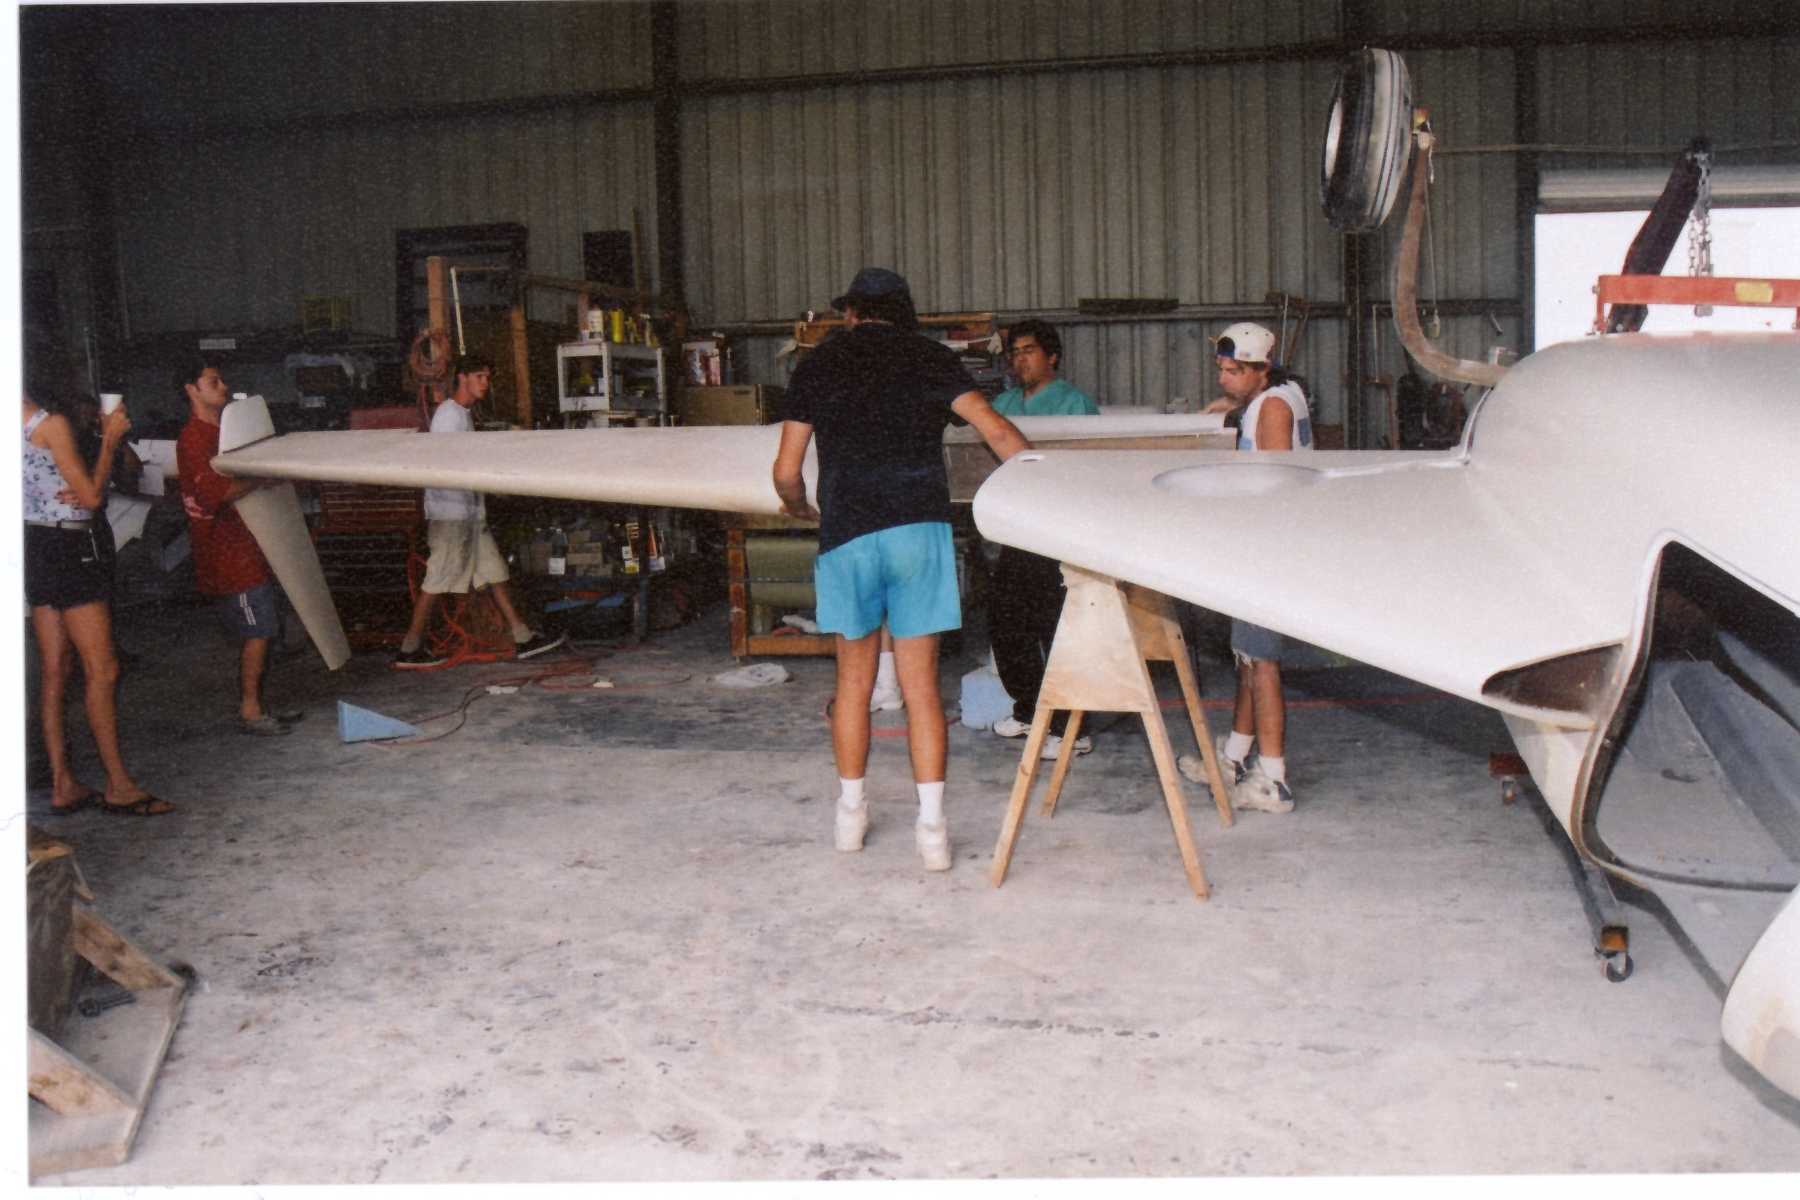
| Guide coat sanded out. | Another view of completed guide coat sanding. | Removing the Wings to allow us to flip the plane and work on the topside. Just 3 bolts, believe it or not! | Lifting the wings away. They are not that heavy - just a little awkward and we have to slide them a past other stuff in the hangar. |
|
|
|
|
|
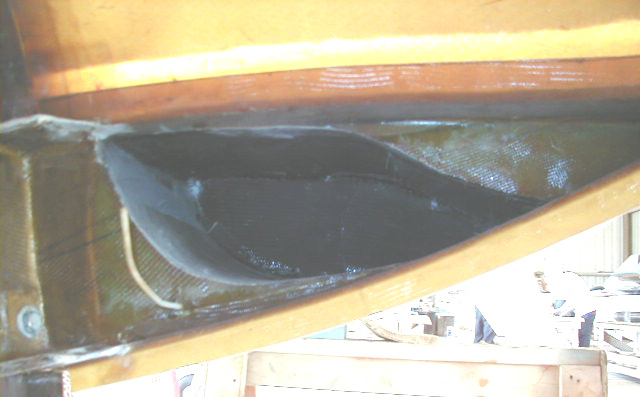
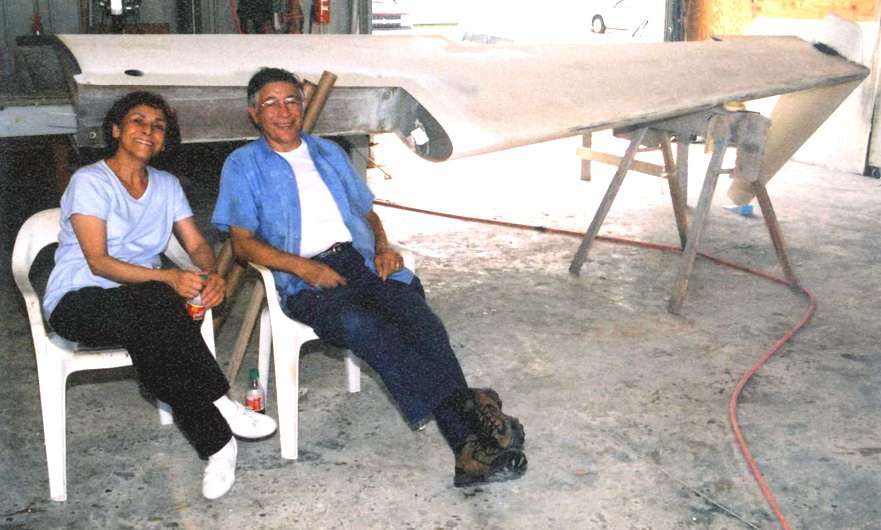
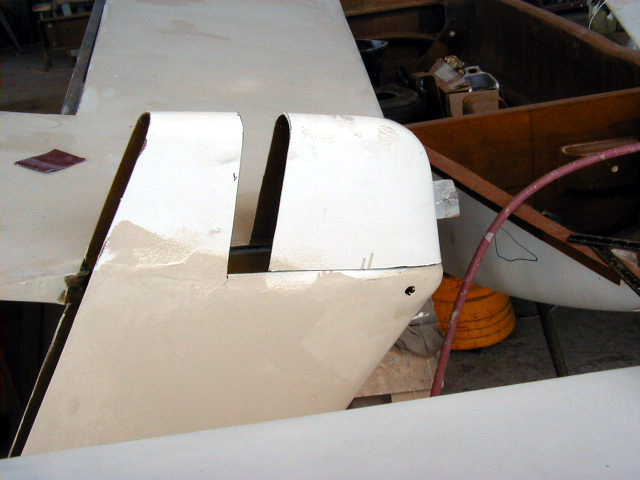
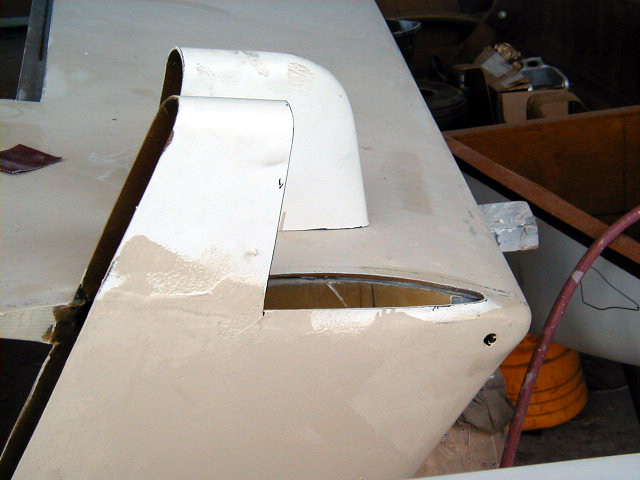
| Mom and Dad relaxing next to unbolted wing. Some finish work remains. | We planned on reshaping the lower winglets to give (at least to me!) a more aesthetically pleasing shape. The lower winglet is not structural and is, in fact, a hollow molded part. This will make it easier to modify. Basically, the leading edge of the lower winglet will be made flush with the leading edge of the wing. Here you see the front of the winglet removed and shifted forward to the position it will ultimately be placed. Because of the installation of the winglet cam, this piece will be reshaped out of foam as shown in the following pictures. Further details on the installation of the winglet cam can be found in the "Wingcam" section. | Old lower winglet piece removed. | The opening to the wire chase conduit running along the leading edge of the wing is seen here through the section from which the lower winglet was removed (arrow). The cables for the cameras will also feed through here. The layup attaching the upper winglet to the wing itself is seen in the center of the photo. |
|
|
|
|
|
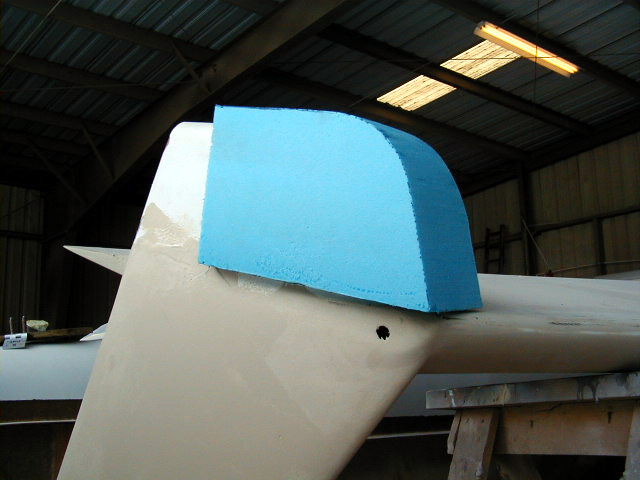
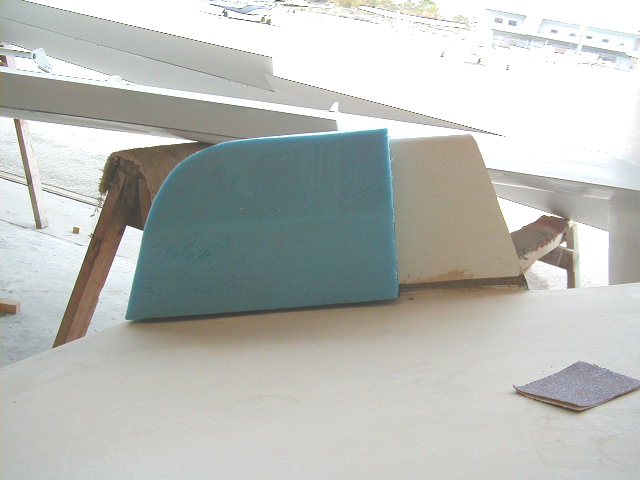
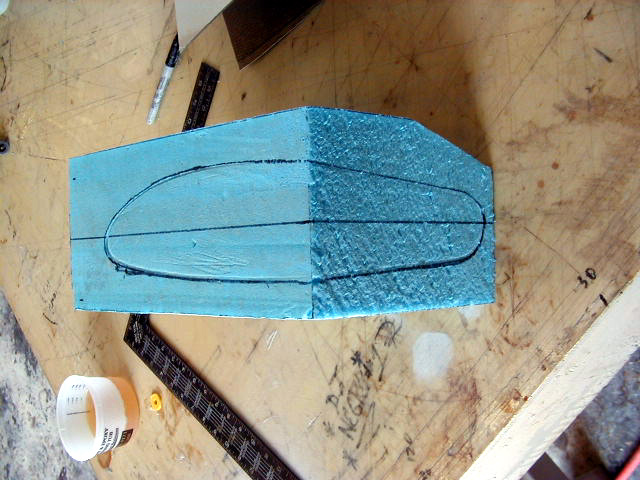
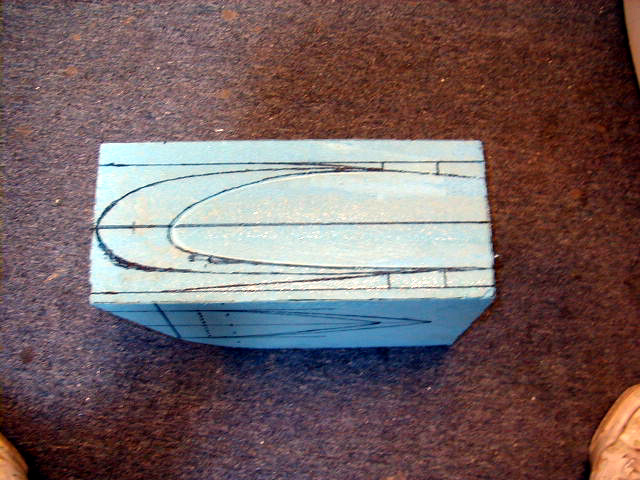
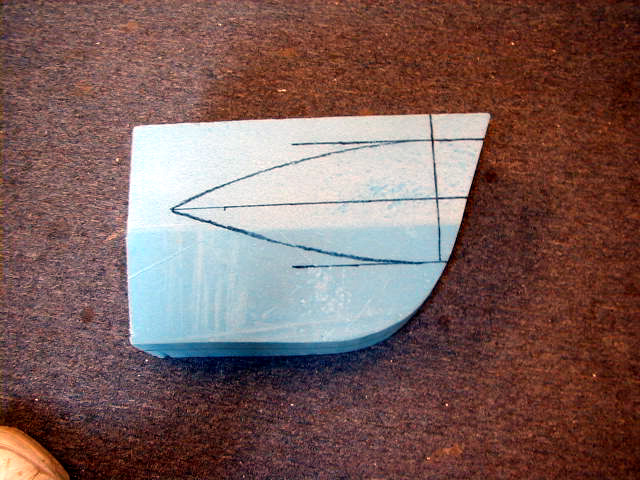
| Foam block from which new winglet bottom will be formed in place. | Another view of the foam block for new winglet. | Footpring of OLD winglet bottom. | Footprint of NEW winglet bottom. |
|
|
|
|
|
| Shape of fairing for the winglet cam seen on the side of the new lower winglet. | Wings back on to start blending surfaces into strakes. Guide coat again seen to help determine areas needing fill. | Right wing ready for final primer. The lower winglet still awaits reconstruction and addition of the left wingletcam. | Pilot side wing in final primer. Note the open wingletcam hatch. |
|
|
|||
| Copilot side wing in final primer. |
 Comments, questions, and suggestions are welcome! email: rich@rguerra.com
This page visited times.