
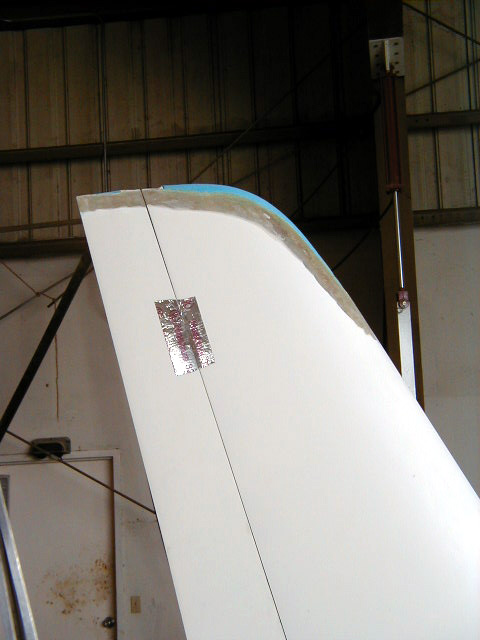


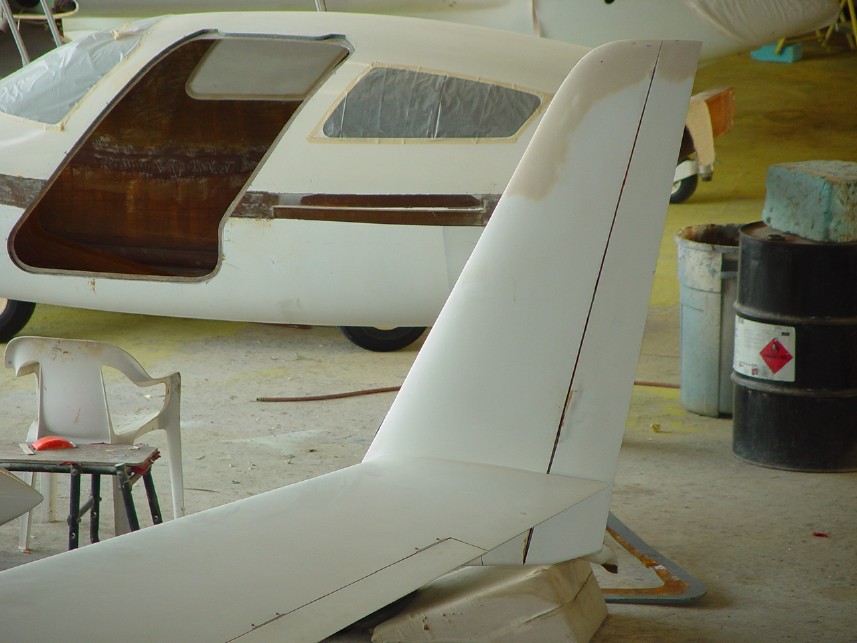

Finishing the wings: shaping the winglets and attaching the leading edge vortilons.
|
|
|
|
|
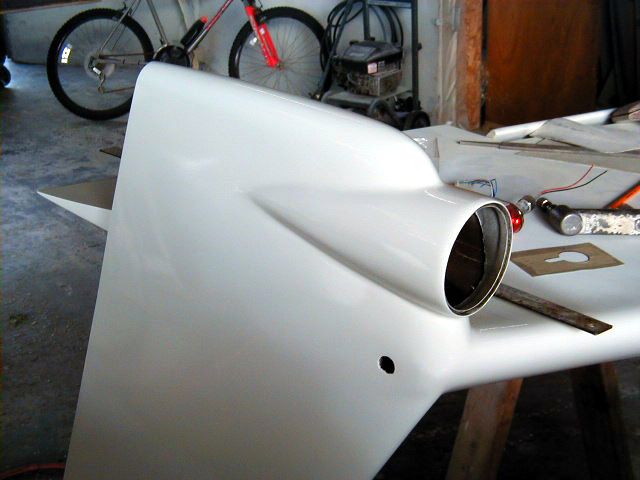
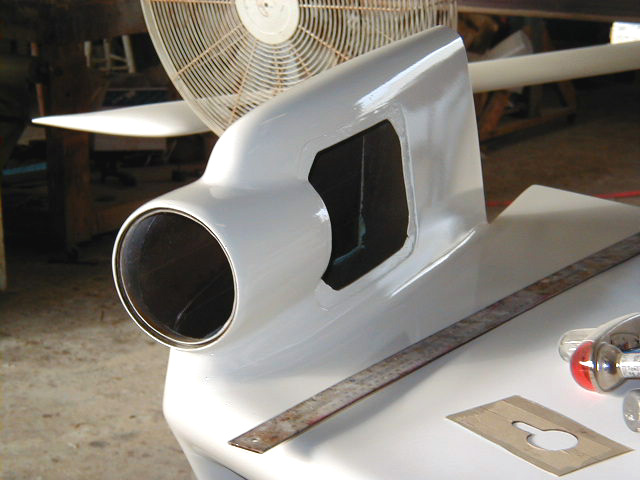
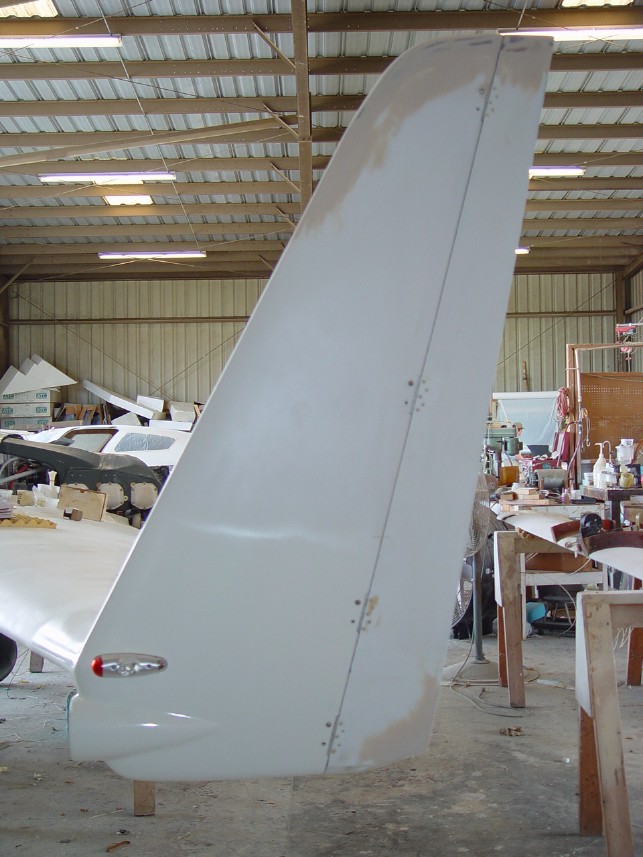
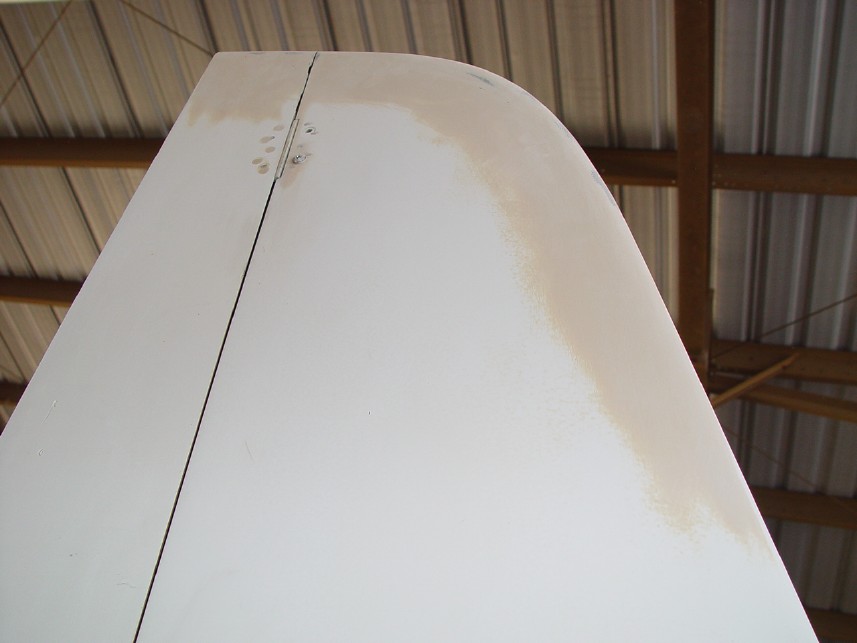
| Shaping the winglets' tops. Velocity supplies the winglets with the winglet tips unfinished leaving the builder to decide on their exact shape. | Modified lower winglet with video camera housing now with final white primer. See the Winglet Cam part I and II sections for details on the modification process. | View from inboard side. | |
|
|
|
|
|
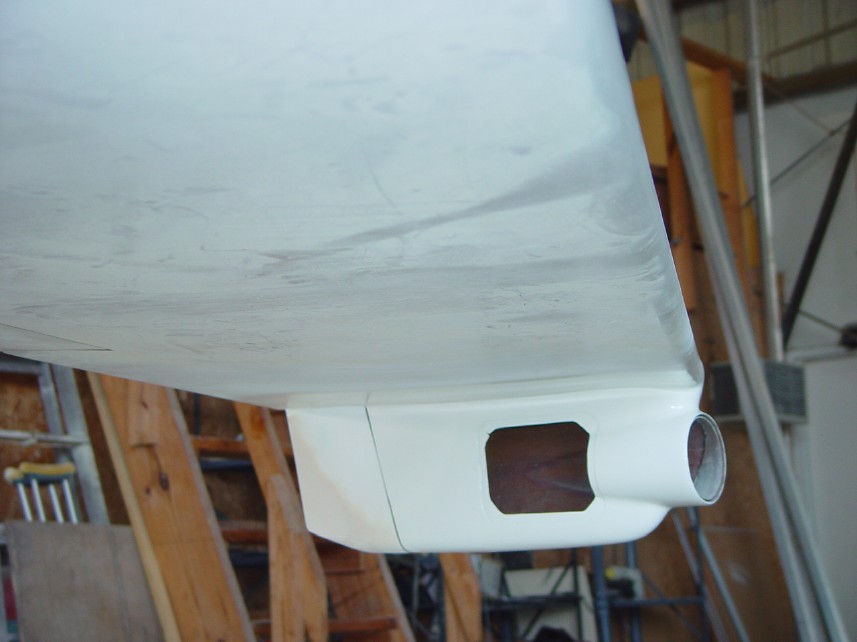
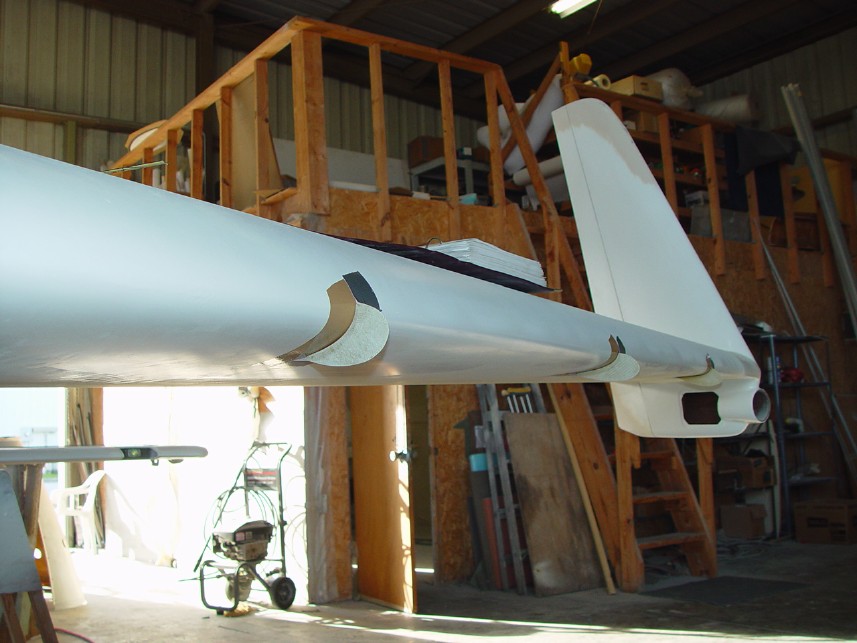
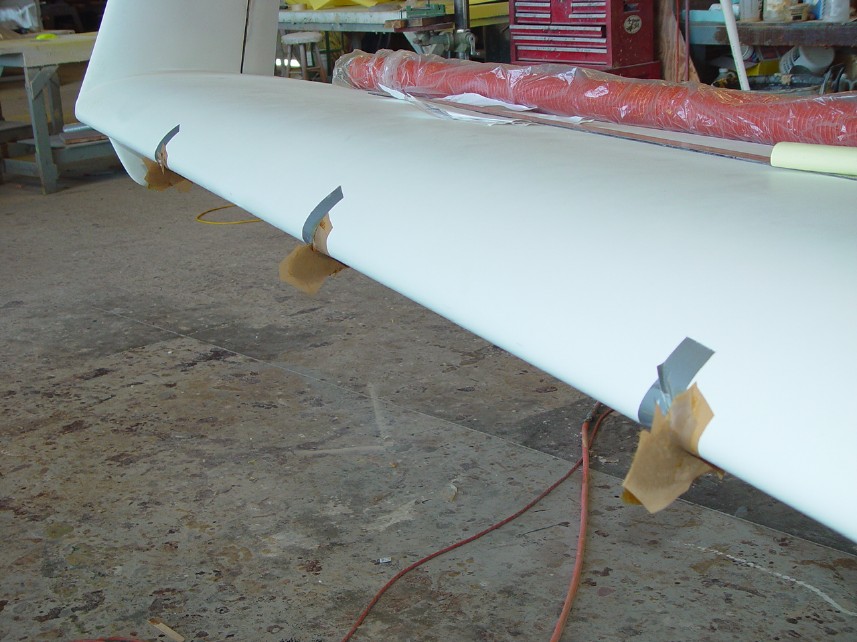
| View of outboard surface. | Vortilon attached, ready to do layup to make flange for permanent mounting. | ||
|
|
|
|
|
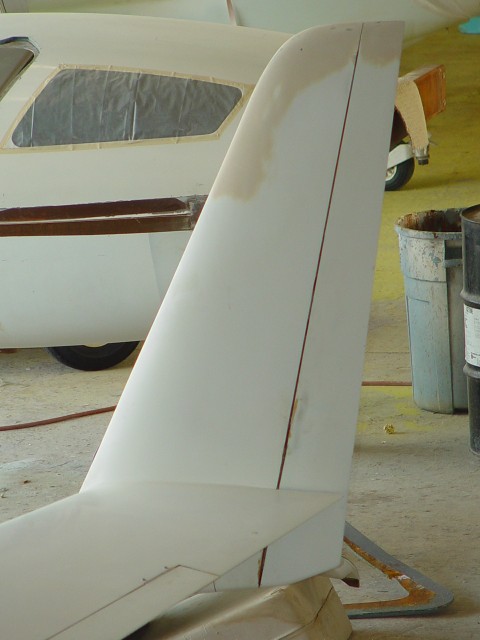
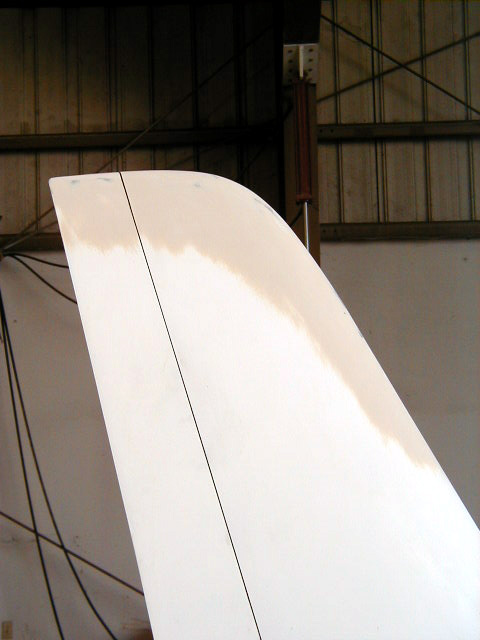
| Vortilons attached. | Vortilons glassed to make flange. After curing, they will be removed, cut to final shape and reattached permanently. | Winglet tops finally take shape. | Winglet top seen in rough finish in these photos. |
|
|
|
|
|
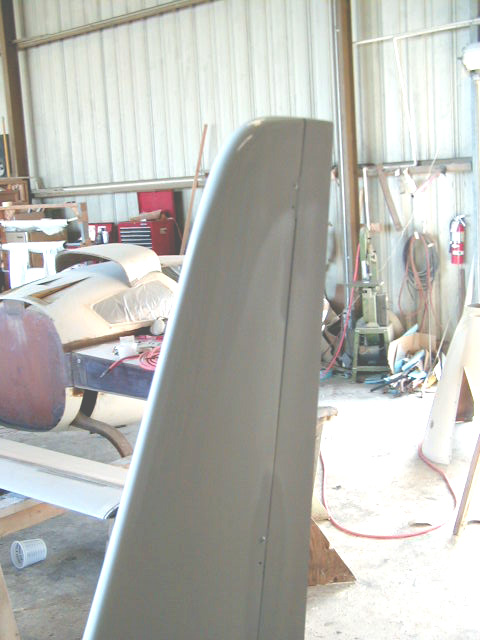
| .... And in finished primer here! |
 Comments, questions, and suggestions are welcome! email: rich@rguerra.com
This page visited times.