


Click on thumbnails to view larger versions of the pics!
|
|
|
|
|
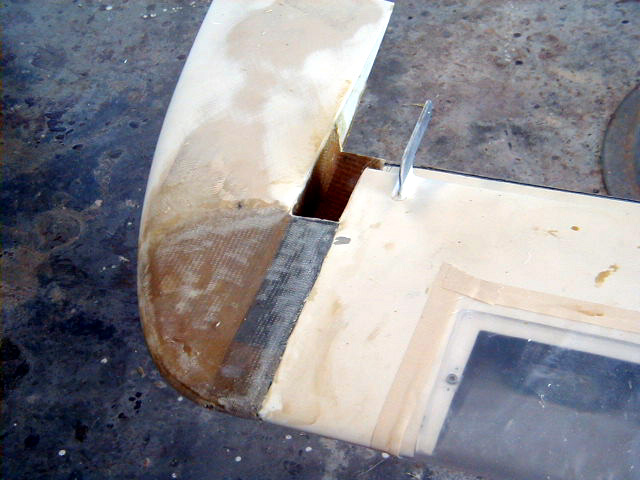
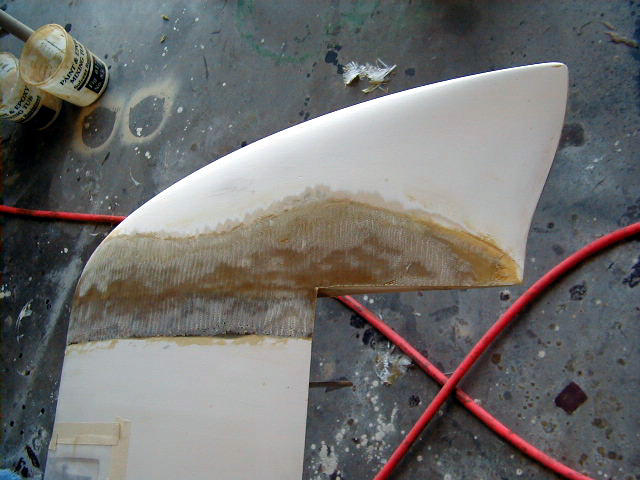
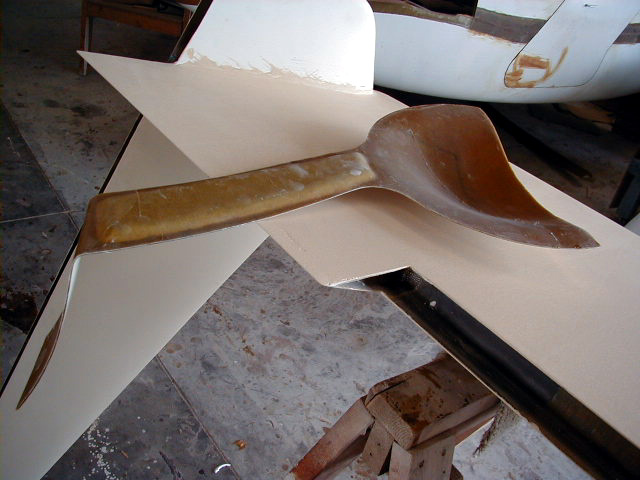
| Molded canard tips fitted to Dynamic Wings canard. Note landing light in leading edge of canard. Elevator hinge also installed. Note screw and pop rivet bonding the elevator to the metal fitting in addition to adhesive. | Canard tip faired and glassed into position. | Canard tip faired and glassed into position. | |
|
|
|
|
|
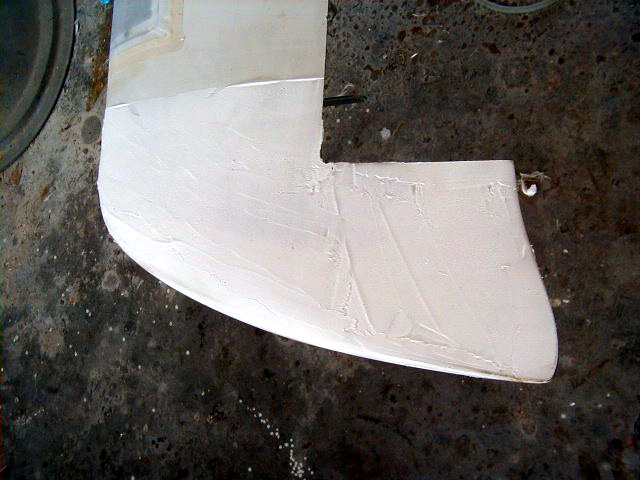
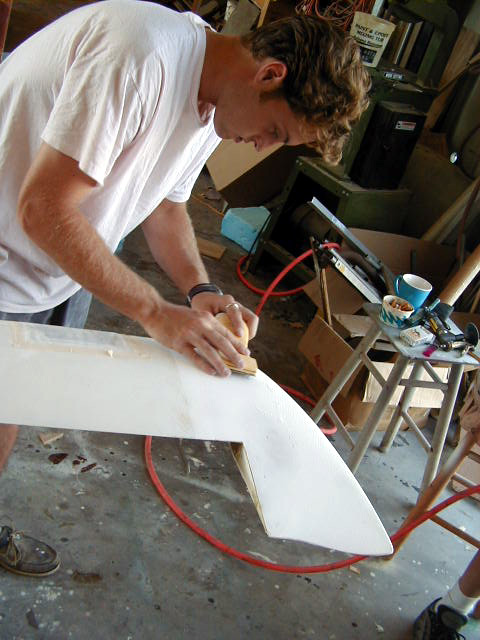
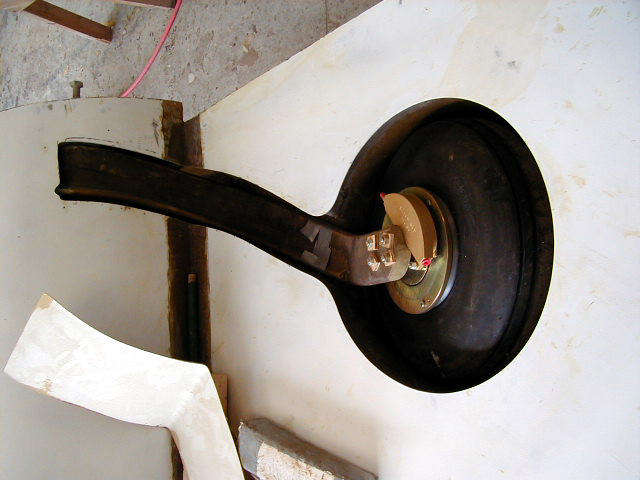
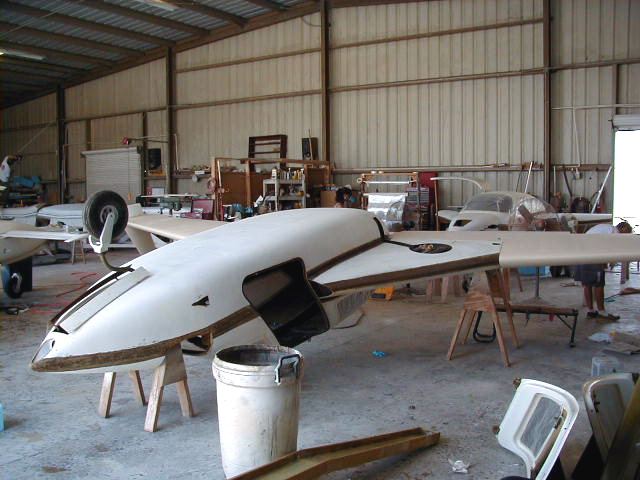
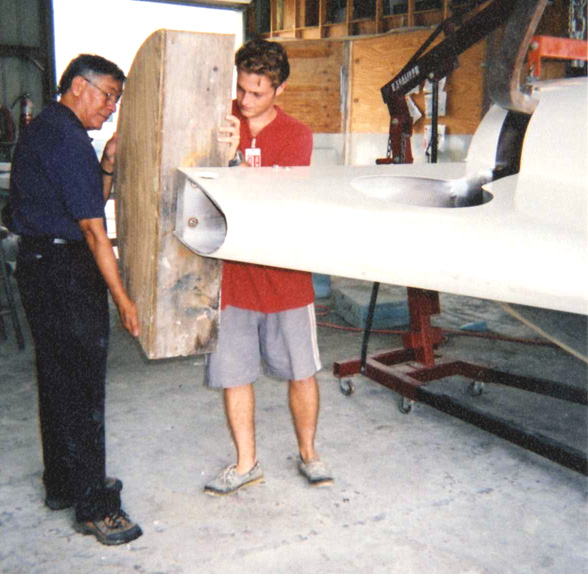
| Microfill applied to canard tip, now ready for shaping. | Jason Fleming works his magic. | Wheel well opening's shape is refined. Next, the molded gear door is precisely fitted to the wheel. This was a step by step process with the gear door sequentially lowered into position. The oversized molded gear door was placed into position with a light bulb inside the wheel well to outline the exact borders of the wheel well. The edges of the were shaved off as it was swung sequentially into position to achieve a 1/8" clearance at gear leg and 3/16" clearance at wheel. The forward "leading edge" of the doors are made to lie just sub flush to the lower surface of the strake to minimize distubance of air flow. | Brad Flecker demonstrates close fit of the molded gear door. |
|
|
|
|
|
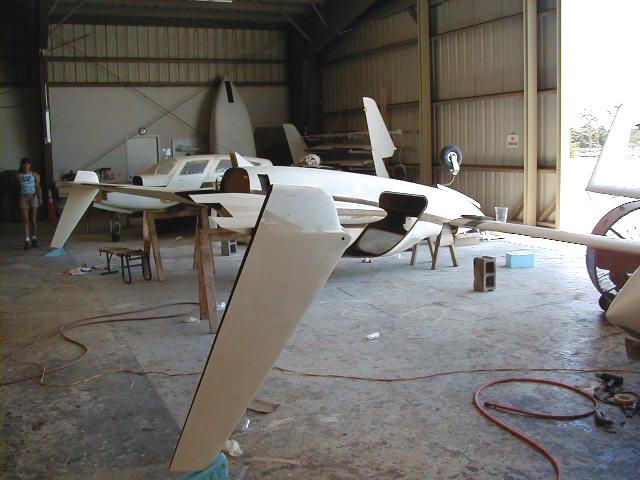
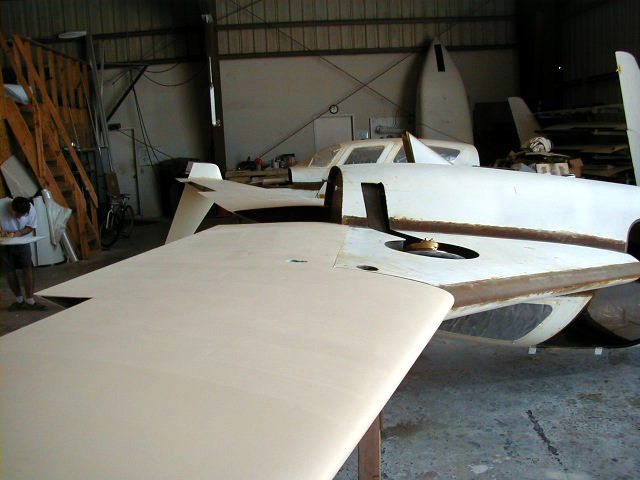
| Gear door cored and glassed in preparation for permanent installation. | April 24, 2001 - The wings have returned and are reattached. Cosmetic work on the undersurface of the plane will be performed next. The next several photos show the inverted plane from different views. | ||
|
|
|
|
|
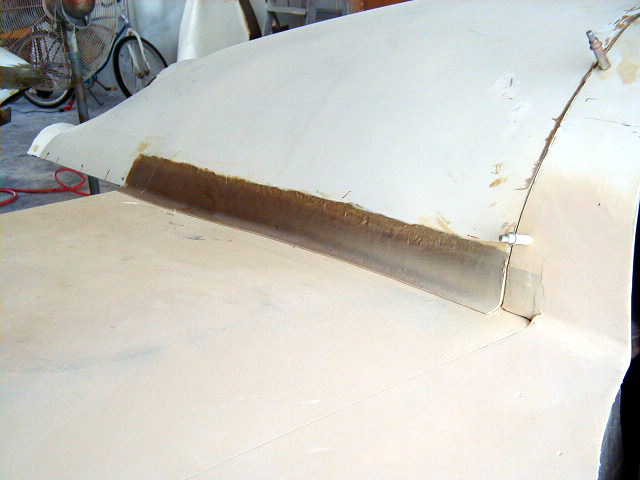
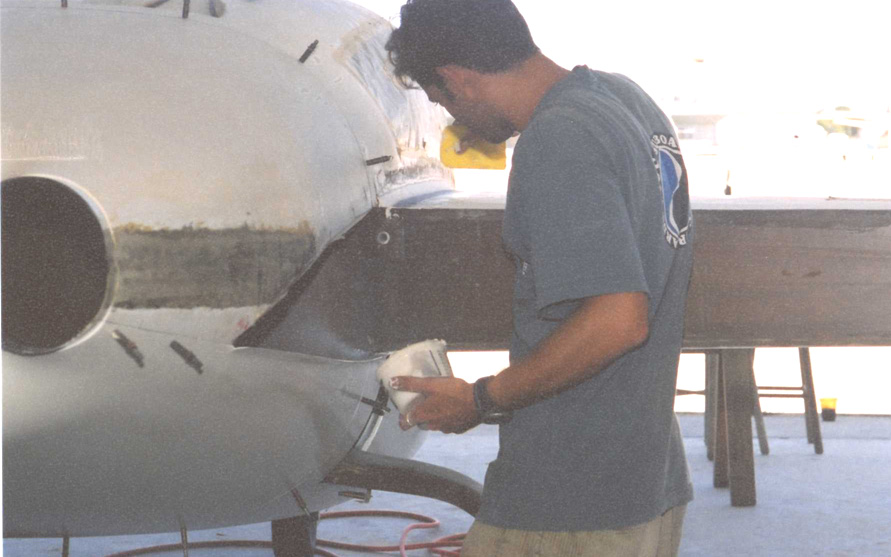
| Smooth contour of the undersurface of the wings noted here. | Fitting cowling to wing roots. | Cowling to wing root fairing. | |
|
|
|
|
|
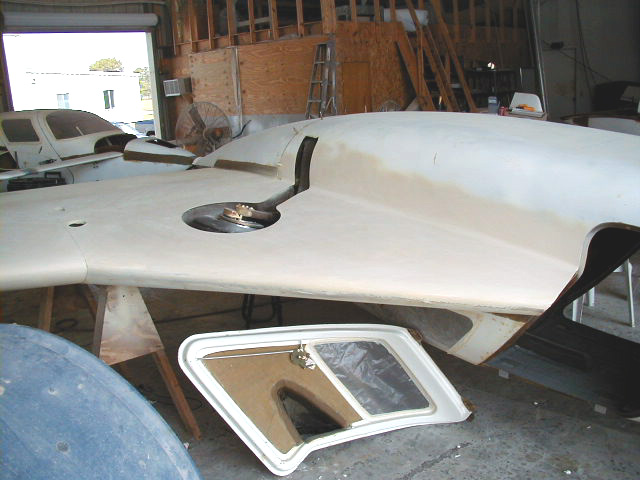
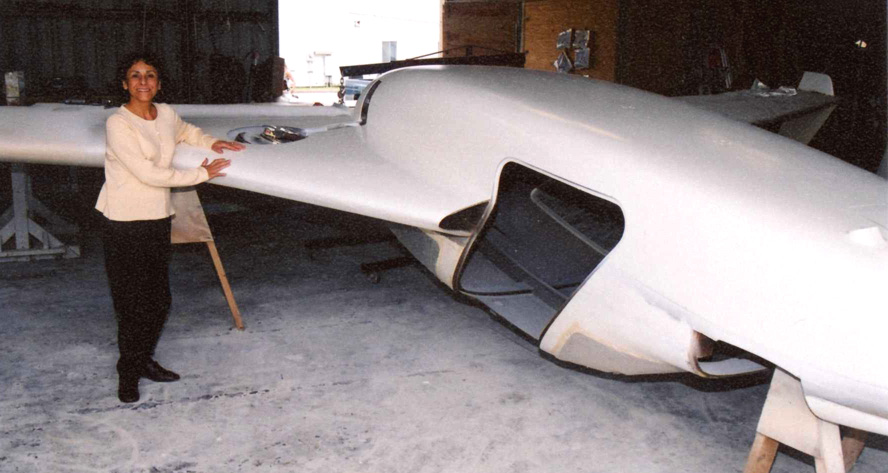
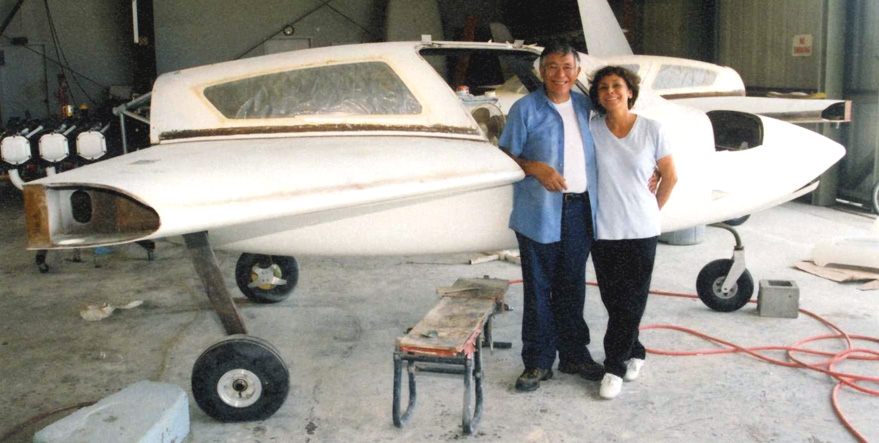
| Blending wing to strake. | Another view of the blending process to match the wing to the strake. | My mother, Inez, inspecting the nice finished white primer on bottom of strakes and fuselage. | |
|
|
|
|
|
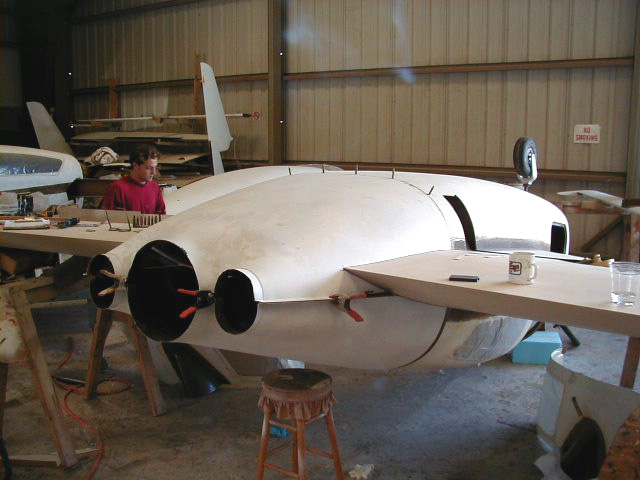
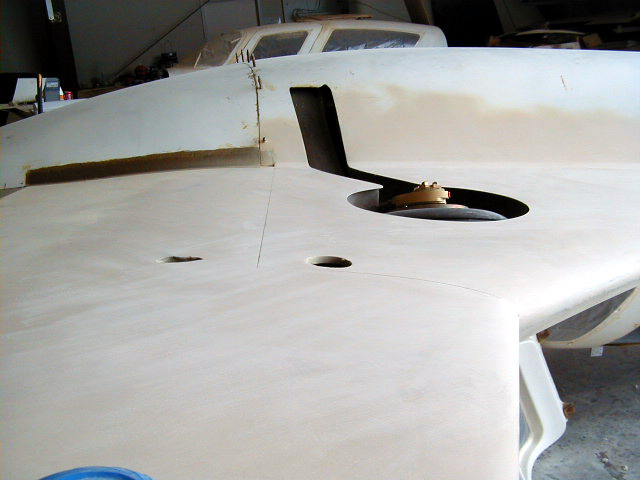
| To perform the finish work on the upper side of the fuselage, the plane need to be flipped back over. Here, Dad and Jason bolt on a rocker to the center spar through the wing bolt holes. As seen in the "Flipping the Plane!!!" slide show, the rocker makes it easy to turn the velocity right side up. | This definitively demonstrates the lightweight construction of this plane. See, using peel ply really works!! | A nice radius is made along the intersection between fuselage and strakes with micro. | Mom and Dad ready to start more work on the top side. |
|
|
|
|
|
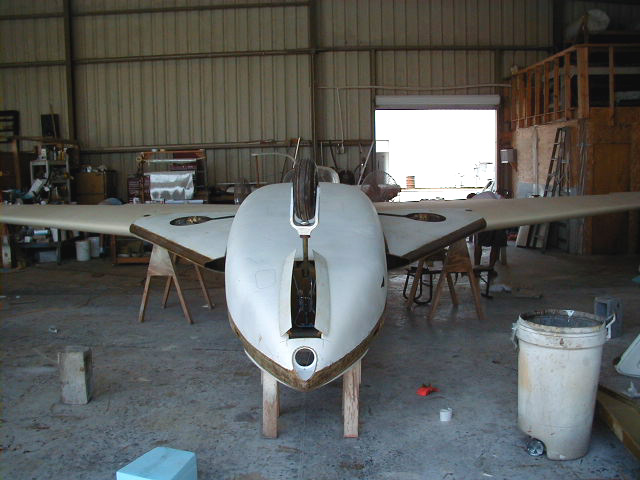
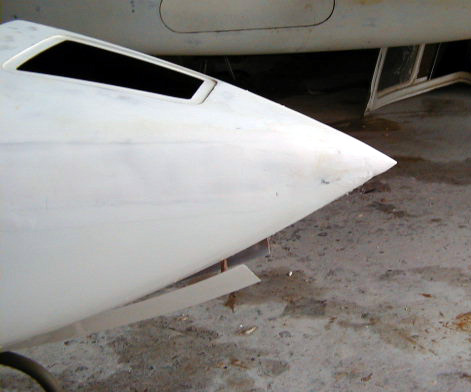
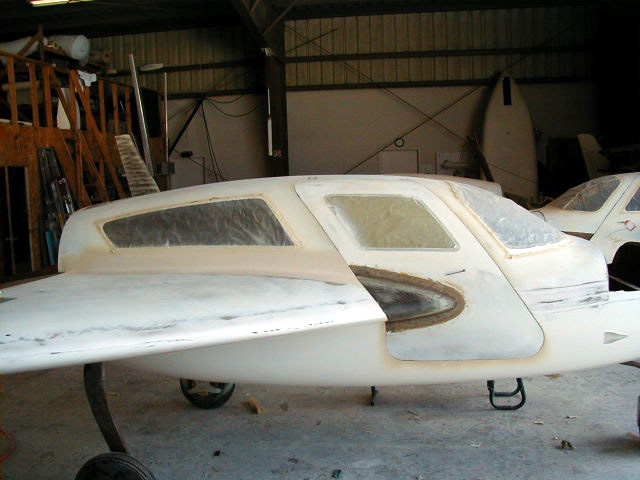
| "Nose" of N724X modified to give a somewhat pointy appearance. It may not make the plane faster, but I like the way it looks! | Getting ready to fair in the doors. You can see the fill smoothing out the radius at the strake fuselage juncture which was seen several photos previously. | 10/12/01 - Some final finishing on the canard!! Canard tips finished smooth and covered with white primer. Almost looks painted already! | 10/12/01 - Bottom of canard tip in finished primer. |
 Comments, questions, and suggestions are welcome! email: rich@rguerra.com
This page visited times.